
ANGUS Reality
Story of an AR Project
made with Unity for the Fashion Week
Synopsis
End of november I was contact by the creative studio DVTK to work with them on an AR app for the Taiwanese designer Angus Chiang and his new collection FW2020 who was gonna be presented at the Fashion Week Paris.
I love fashion, I love the Angus world, I love DVTK, I love AR, I jump in !
This project took us one month and was very rich in knowledges and fun to make thanks to a talented team! In this article I talk in depth about the different technical challenges of the application and the solutions I used to make it works.
Progressing Step by Step
When you start such a project and you have such a short time you should make a plan, and progress step by step by focusing on the important feature first and the technical challenge. Also its important to be ready to change, add, remove or adapt features while getting users feedbacks. The project globally went smoothly but many steps reveal to be harder than anticipated ( especially on AR ) and asked more time than anticipated ( understand less sleep as the deadline will not move.. ) as other steps like the submit on Applestore / GoogleStore went easier than we though.
Benchmark & choose an AR technologie
Setting up the project with a basic workflow for iOS / Android
Made a first prototype with the AR core features
Add the different UI Screen to get a complete User journey ( no animation )
Add AR Interaction
First UX test / implement feedbacks
Stabilize the AR ( basic )
/ ALPHA VERSION - MVP ( Minimal Valuable Product )
Base on the alpha, improve the workflow & refractor the code where its critical
Add the AR content
Animate the UI
Add the screen recording features
Stabilize the AR ( advanced part 1/2 )
Improve 3D & AR animations
More animations, more contents.
/ BETA VERSION
Test & fixs on the maximum of devices
Optimize the size of the app
Submit to the stores for a first review ( anticipate a rejection )
Get rejected
Submit the fixed version
/ RELEASE v1.0
Stabilize the AR ( advanced part 2/2 )
More animations / more content ^_^
More user testing, feedbacks & improvements
Submit lastest version before the show
/ RELEASE v1.2
Get feedbacks and do last improvements for next show ( in Shanghai )
Write an article to summerize the experience
/ DONE
Technology choice : Unity & ARFoundation
A technology choice is a critical decision which influence the rest of the development. I always base mine on the requirements of a project : In this case, they were clearly identify : Available on both AppleStore & Google PlayStore, using state of art of AR and make it easy to evolve while we’re building the project.
I choose Unity, it’s a software I trust a lot when it come to multi-platform delivery with a lot of power, community and documentation. The fact it come with a complete environment is also helpfull when you have to do quick change also this choice was re-enforce by many tweets I saw using it recently to deliver amazing AR application.
Once I choose it, I discover there was 3 common ways of making AR app for Unity : Vuforia ( an AR Tools & Framework suite ) / ARKit-ARCore native ( AR system made respectively from Apple & Google ) / ARFoundation ( ARKit-ARCore wrapper in a single API and made by Unity team ). I went for ARFoundation, it present a good compromise between API simplicity, nice ressources & power, allowing to access to advanced features of ARKit3 especially peoples occlusion. To make it works I had to use Unity2020.1.0.17alpha & the package preview3 ARFoundation3.1.0 as well as ARKit XR Plugin & ARCore XR Plugin. Note : XR refer to the AR system in Unity. I generally avoid using preview and alpha for production but as we wanted state of art of AR I didnt have much choice.
UI
It was not my first project in Unity but its been long time I didn’t use it to make UI and I was a bit worried about making a Multi-device screen resolution User-Interface but in the end I was surprise : Simple & Intuitive, below some notes & tips I notice about it.

Simple hierarchy
I builded all the interface like an “html div systems”. With every elements in position “absolute” to their parents. I simplify a little bit, but its almost like this.

UI Element inspector
UI element Inspector allow you to totally control how the element should position and stretch to his parent.

Play Video in Unity UI
A little bit tricky and not-intuitive here : You have to make a VideoPlayer using a VideoClip from your assets. Then render the VideoPlayer to a RenderTarget and assign this RenderTarget as a Texture of a RawImage. On the positive side you can assign both of the RawImage and VideoPlayer on the same UI element to avoid more confusion.
Short answer : VideoClip > VideoPlayer > RenderTarget > RawImage
I saw this questions a lot on StackOverflow and a lot of wrong answer ( or not updated to the latest unity version )

Clean Texture for UI
In Unity for every image you can change their texture type, when you setup it to Sprite / UI, it will make it looks super neet on any screen by creating a mesh for it, simple & efficient ! ;)

One asset to Test them all
The “Universal Device Preview” was really helpful to test if everything was alright on the different screen. There was still some specifique devices problem like a screen.resolution bug on iphone8 but you can easily prevent 80 / 90 % of the risks with this assets.

Canvas Group & Alpha
The easiest way to fade a group of UI ( the element and his children) is to add a component Canvas Group
UI Animation
Once I had the UI in place, next step is to animate it. For the control of the UI animation, I was looking to something similar to gsap in Javascript, the closer I found is DOTween. It come with
AR Marker
I really underestimated this part, as I though in 2020 it was gonna be easy peazy, well documented and with good examples all over internet! Well, it wasn’t! If there is many examples tutorial and videos about “how to make AR in 5minuts”, once you want to do more than make a 3d model popup and manages multiples interactives items you are going to a no man’s land and you will find yourself very lonely exploring dark forum and out-dated ressources. If its your case, here some tips of how I solve the problems during my journey.
Marker stability : First of all the stability of the marker, its of course a big deal when the app is based on clothes marker. To make it smooth and friendly I iterate using more and more advanced technique while I was developping the app.
First of all the marker system works well when the camera is on the marker it but still get some “jump” time to time. During the alpha, I make it smooth by manually tweening the value with the formula : currentValue += (curentValue - targetValue ) * smoothness;
Then we discover another problems when the marker was getting out of the camera field, it suddenly send a crazy rotation / translation, I “securised” it with “refusing” the change when it was not making sense ( too big / sudden rotation/translation ) for the beta which I couple with a camera frustumculled checking in a second time ( for the release ).
Touch Interaction : Most of the ressources I found about it was out-dated and didn’t work, after many try I make it works using RayCaster, Collider Box & Physic from Unity : You can check the snippet code here, I suppose the code speak for itself.
Manage multiple marker : Here you wil have to be clever, the main problem is the marker are rarely “destroy” but we didnt want to have 20 markers at the same times so I created an abstract layer and regulary test which marker was in the closest to the front of the camera. It sounds easy on the paper but again it wasnt and we had to do test and adjustement to get a smooth system.
Record the AR Video
To record the AR Video, I used NatCoder, a pay assets who make the task easier especially to get back the image from the GPU in an asynchrome way ( for better performance ).
NatCoder is nice but doesn’t record the sound “out of the box”. The author recommend NatMic.. another paid asset but here the code snippet to record video & sounds with NatCorder and the native Unity microphone system.
Material & Shader
Unity doesn’t have a good “CutOff transparent double sided pbr” material out of the box which I needed to get some clean floating icons, I used another store assets which I then improved to make it double sided.
3D Animation
Some animation were made from DOTween and others directly in maya to gain time ( like making pop a smiley ). Our workflow was using .fbx with inside animation import it in the project and
Keying
I ued custom shader
Optimizing the app size
When we had everything we wanted, we knew it was time for optimization. First of all understand what to optimize, in this case we had a lot of video content and it was my first target. I transcode the video to the HEVC format ( h265. ) which is the next version of the famous h264, having higher/similar quality for smaller size. This change alone made the app go from 135mo to 65mo on iOS and almost same gain on Android. I also try a more agressive code treeshaking but it was not making a big difference and as it could introduce errors on some devices I reverted this changes. I deleted unused assets and optimize texture size / compression to get even smaller.
Bonus : for the GooglePlayStore doing a .abb instead of a .apk helped to gain 15mo.
The Appstore / PlayStore
Appstore fast & easy : Its been long time I didn’t deal with the Appstore and they improved a lot since my last try. You can now create the IOS profile from Xcode really fast and package to submit for a review easily. Also it take between 12 to 24hours to get feedback from Apple when you submit your app or update. We got two rejections, first one was purely technical ( a library not use was included ), second one was about the UX as the app should be usable even if you weren’t at the event. Still, it would be nice if the process get more transparent and if we could follow the different steps.
PlayStore : Super easy to build from unity, and everything is automatise but the first version was validated after 4days. But after it take only one hour to push an update, really amazing !
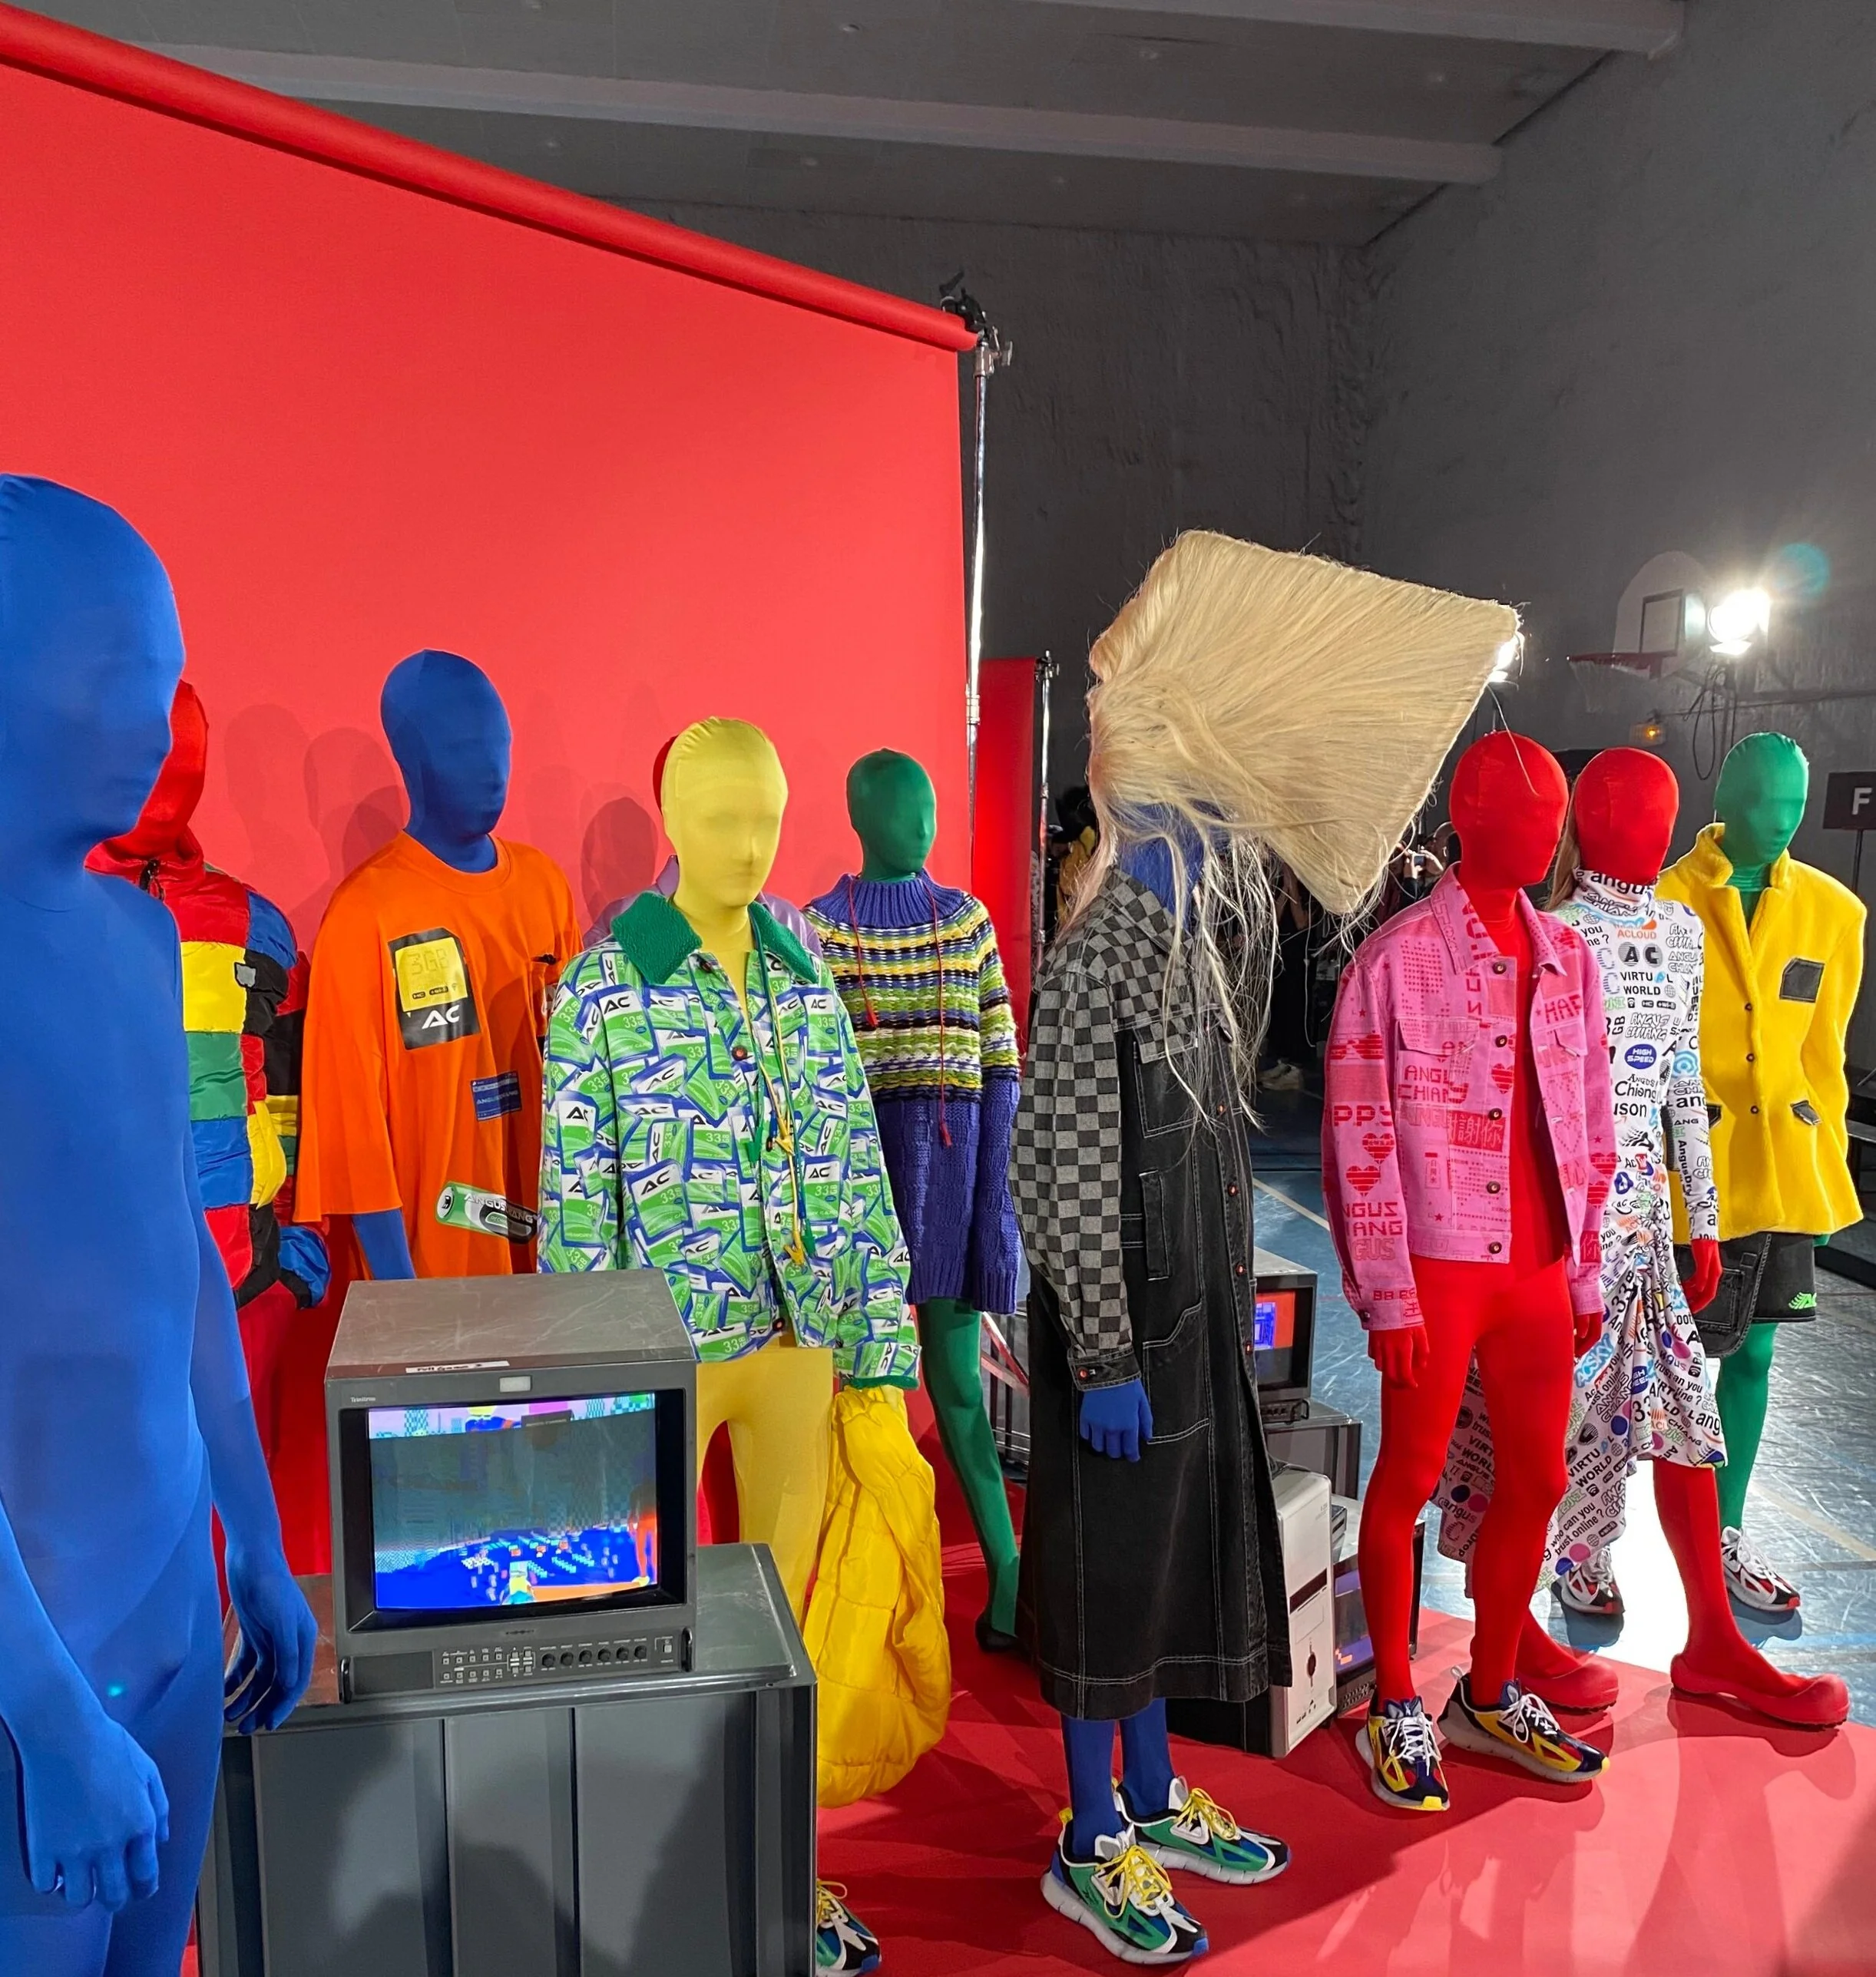
Show Time!
Nothings much to say, it was GREAT! The collection was amazing and our AR app worked perfectly and catch attention of many of the peoples attempting to the show who directly download and try it after watching other peoples using it :)
Conclusion
AR on mobile is super powerful but there is still a lot of work to do, to make a great app. This said, it evolves very fast and each time I’m working with AR I feel a certain magic when my code invade the reality, it make all the efforts worth it !
Also I want to thanks again DVTK Studio and Angus Chiang to offer me such an opportunity, it was a true honor to work with them.
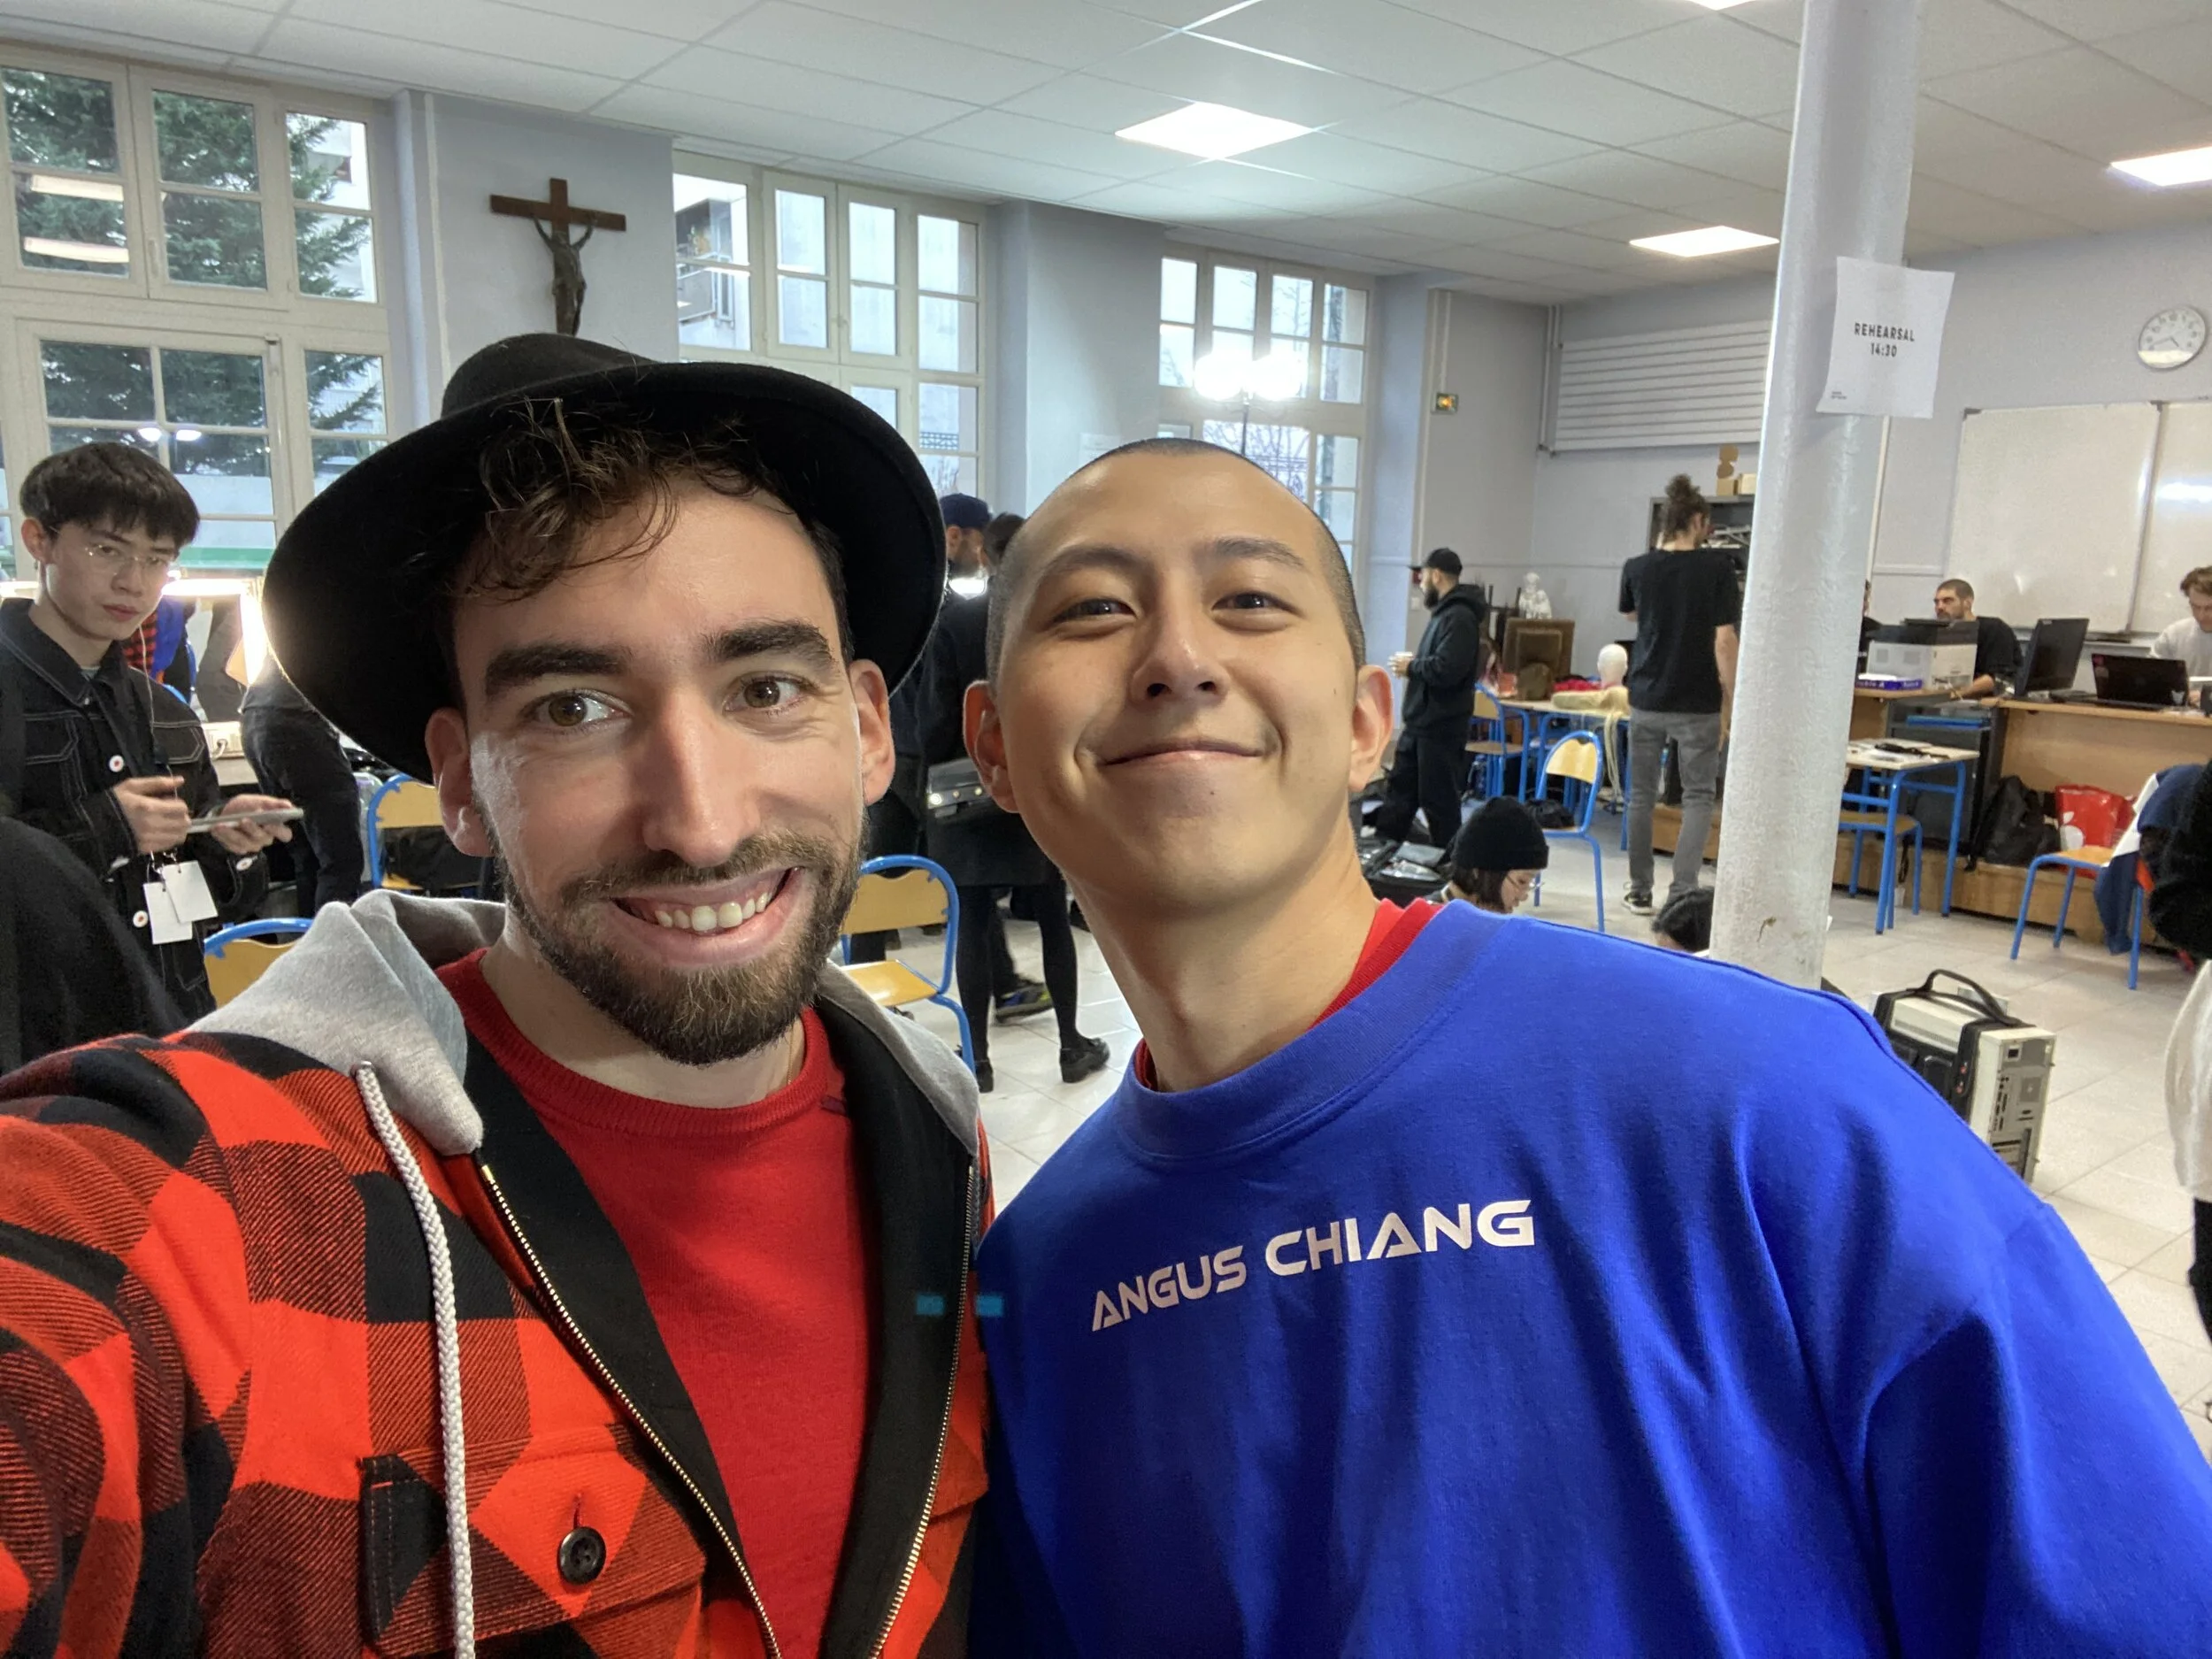
Posing with Angus after the show 🙏

And with the DVTK team
I hope you enjoy this long article, its been a while since I write one. Let me know what you think about it, if it was too long or technical or if its something you like or you want even more in depth knowledge, all feedbacks are welcome!
Thanks for reading!